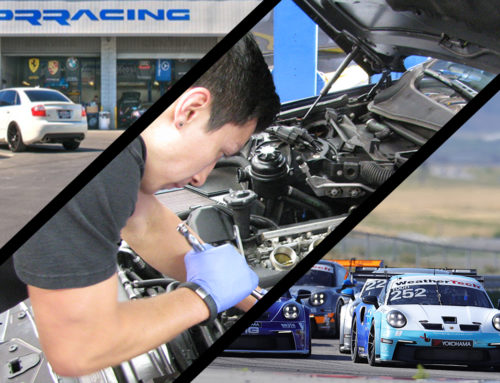
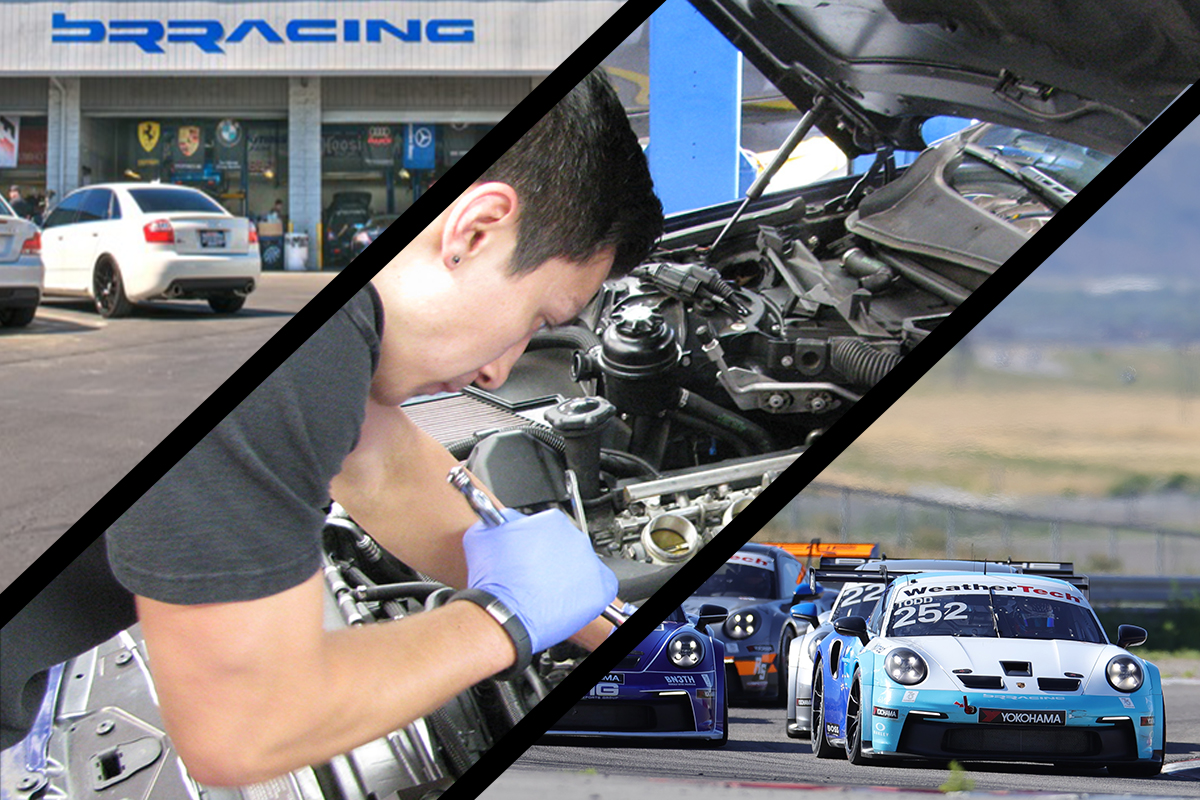
BRracing – performance at the limit.

After our recent experience at the Global Tuner Grand Prix with the Porsche Cayman S, we noticed that the power steering system was struggling with heat and demands from the track. There have also been other users who have expressed the same issue. So, as our approach has been with all testing and development, when we find a weakness – we attact….and so it is with this issue.
We have looked at the other possible solutions, and wanted to ensure we had a solution that could take all the abuse, lend itself to ease of implementation by others, and upgrade the soft spots in ps system. This meant the kit would need the following – replacement std ps lines, replacement Aeroquip lines and fittings, new adaptor fittings, large power steering cooler, mounting brackets, flanges and ducting.
There are many choices in terms of where this could be, but like any cooler, you want as much air flow as possible. The mounting options were in front or behind either of the side, front radiators, or in the center duct area (which is not used for anything currently). If this car had a turbo kit upgrade, then the center section would have been used for an additional water radiator, but this is not the case on standard Cayman and Cayman S cars….so, that area was the best option.

The standard or stock setup for the Porsche is an extra length of hard line…..which is meant to act like a cooler, but doesn’t really.
Here is the standard line, length, and stock fittings.


To implement the new solution , we needed a large air-to-fluid cooler, new stainless steel braided lines, fittings to intercept the current stock hard lines, fittings to attach the new lines to the new cooler, and brackets and shrouds to provide the placement and direct the airflow thru the cooler (and not around it…as air will always seek its path of least resistance).
Here is the kit that we developed, that could be implemented by any user or customer….as there were only two fabricated parts. The welding of the new AN fitting to the current ps hard line, and the development of the brackets for the cooler mounting and proper location (height, depth in the openning, angle).

Now the operation on the car can begin. We have the location defined, we have all the parts, we just need to start disecting the patient.
Here is the center duct removed, as we prepare for the fabrication and cutting to allow the new cooler to sit at the proper depth and location to optimize air flow.

Next, once we have the duct, the fun begins. We have the plastic duct element, which is all curved, and compound curves, and we have the new cooler, which is rectangular……determing the exact area to trim and cut takes some time, as we want as perfect of fit as possible to optimize the use of the existing duct to shroud the cooler.
Once we know the measurements of the cooler, and the location within the duct, we can transfer those measurements to the car, and use that information to determine the cooler location and mounting. Then we need to craft the cooler mounting brackets, both to mount correctly, but also to leverage the current mounting holes and fixtures in the front tub area so that we are not just drilling and creating new holes….we want to use as much stock factory fittings and fixtures as possible. Then, now that we have the cooler location fixed, we can also go to work on the cooler stainless steel lines and fittings needed on both ends. Since the stock car had a long length of hard line that was used as the cooler section, we are just replacing or intercepting that line with the new cooler section. To do that, one of the lines to the steering rack had a unique fitting, so we needed to cut that fitting off, and weld on a new AN fitting for the stainless steel line. The return AN fitting will connect to the other existing factory fitting.


To ensure that the lines are properly protected through the opennings and areas that we are now running the lines, we added sheathing / heat protection.


Next….we trimmed the duct to properly fit the installation of the cooler…..cut here, trim there, try, trim a little more, make sure the stock fittings and attachments are all preserved.

Here is the extra shroud that we had to fabricate to ensure complete shrouding and coverage – (before we painted)

Finally, the completed installation on the front, with the new cooler, shroud, duct, stainless steel lines, and exit thru the lower valence panel.

We then added some additional screening to the cooler, to protect it from unwanted flying objects as we suck in the cars in front of us on the track.
Finally….to complete the whole solution, we installed an “underdrive” crankshaft pulley (which requires some minor engine block flange trimming to fit).

And….as the saying goes, the proof is in the results. The car ran at Thunderhill Raceway, for multiple sessions, and indeed solved all the issues we had seen before from track usage….and worked great in driving the car to and from the event as well. Easy solution, nice upgrade.
Give us a call to upgrade your car, or to get the kit from us.
BRracing….performance at the limit.

I do accept as true with all the ideas you have
introduced for your post. They are really convincing and will certainly work.
Nonetheless, the posts are very quick for starters.
Could you please extend them a bit from subsequent time?
Thanks for the post.
Greetings from Los angeles! I’m bored to tears at work so I decided
to check outt your site on my iphone during lunch break.
I love the information you provide here and can’t waiot too
take a look when I get home. I’m surprised at how quick your www loaded
on my phone .. I’m not even using WIFI, just 3G ..
Anyhow, good site!